Showing posts with label bedroom. Show all posts

Sunday, October 16, 2016

a bed.

We've been on a kick lately, finding cool things at salvage yards, used furniture stores, and the new Habitat For Humanity store in town. In addition to that $18 lamp, we found a bed. It was an old oak bed, similar in style to the bed I built J years ago.

I've never owned a bed, actually.

In fact, there was a time - when K and I actually met in fact - where my 'bed' was (seriously) a pile of sheetrock -


Maybe a little hard to see in that photo (the pile of sheetrock is wrapped in black plastic), but that was a real deal. Also hard to tell in that photo, but my bedroom at the time didn't have any walls. Well, it had walls, but it was bare studs. Pretty awesome.

Fast-forward a few years...

The bed came in pieces, but the gal at Habitat For Humanity was nice and gave me three scraps of 1x lumber to use as cross-braces. I had to rip them all down to 3-5/8" and then cut them to 60-1/2" in length, but that was easy. I also had to find the bolts that fit the nuts that were embedded in the headboard and footboard. That... was not easy. It actually took three trips to the hardware store where - on the third trip - I literally shoved the footboard into the trunk of my car and took it to the flippin' store. I was not going to make a fourth trip.

(Turned out - the bolt was metric, M7 to be exact, of which the store only had about five bolts of various sizes - none that would work with the bedframe as it was so I'd have to get creative... )

So I drilled a second hole on each end of the two side rails -


The longest bolt was maybe 2" in length (it was metric, and I can't recall the length) - and I had to use a couple of washers and a nut as a spacer to fit the bolt and be able to tighten it. Thankfully, it worked - and after an hour or so I had the bed put together -


Then I had to fit the cross-braces I ripped and cut down to length -


I drilled them -


Then screwed them in to help solidify the bed -


On the middle brace I cut a length of scrap 4x4 to use as a support -


And it was finished -


Then it was just a matter of hauling the box frame, mattress, and all our bedding (K had washed and starched the sheets) back in and put it all together -


Finally... I'm a grown-up (K had already owned a bed, although remarked how now our bedroom feels more 'grown-up').

Saturday, December 10, 2011

bedroom trim.

Next step on this little bedroom project ... cutting and installing all the trim. I ripped down most of the original stuff cos it was coated with lead paint. Even all the baseboards (which were a combination of plywood and crap particle board). So I pretty much had to reinstall all of the trim for this room.
Again - an under-estimated project on my part. This was a more-than-one-day kind of job ...

A couple hours last Saturday and then a twelve-hour day on Sunday had me mostly finished though - and I wanted to finish cos once again my bedroom was a complete disaster zone and now my bed was propped up vertically against the piano in the living room. Not easy to sleep on but the bedroom floor was coated in an inch of sawdust ...

I had tossed down some drop cloths, heaved all the trim pieces I bought - 1x4 for the aprons, 5/4 for the one window sill, 1x5 for the side casings, 1x6 for the top casing, 5/16” filets (all of those were primed LDF) and crown pediments (fir that I got at Rejuvenation in Portland and primed) through the window - and brought in the miter saw. Oh - and painted the bottom window sash and replaced the disgusting pulley cord (they're traditional old-fashioned double-hungs after all with a pulley and weight inside the wall!) with new stuff I bought years ago at Rejuvenation.


I did the table saw stuff for the top casing (had to rip off a smidge of the rounded edge so it would butt up tight against the filet below and crown pediment above) outside in the garage - it was cold!

Once inside with everything set up I got to work. I attacked the first window - that had been trimmed with really crap stuff that didn’t match any of the original molding - by cutting the 5/4x6 piece of stock down to 5” deep on the table saw and then notching out each side with my jig saw. Then cut the side casings - the one on the right butts up against the wall but oh well - and the apron.


Then got to work on the first of five top pieces which included a 5/16" filet, 1x6 casing and crown pediment. I mitered the corners of the filet and pediment and glued each corner -


Then stapled the filet to the casing and nailed on the pediment to create a single piece that I’d then nail on top of the side casings -


Around the room I went. The hours ticked by. The most tedious part was the mitering and glueing of the corners of the filets and pediments but I didn’t want a butt joint - I wanted it to look nice.

And in time the room was, well, finished -


Then it was onto the closet. Had to install new plywood subflooring cos I had ripped out the stuff that was in there thinking I’d be able to bring the floor height down to the rest of the bedroom floor (umm, nope - turned out there were some pretty significant beams going through the closet). So I ripped some scrap plywood down to fit and then started piecing in the wood floor to match the floor that was put in right before I bought this place -


I’ve never put in tongue and groove flooring before and after getting the hang of it I think it went OK - it was a small area afterall which was good for a trial run.


It’s a far-cry from where this closet used to be (including the recessed light I installed last year - when I bought the house there was a, umm, tap light in there - classy I know). And I’m going to finish it by installing matching baseboards and then building a custom closet installation to hang my shirts, coats, pants and store some other stuff. It’s a small closet cos it’s an old house but I’ll do my best to maximize the space ...

And that’s the bedroom trim.

Oh yeah - except for the crown molding combination I still have to hang. Haha. Yeah -that’ll be a challenge ... I'm going to try to get 16' sections and somehow transport them on my little Toyota truck cos that'll mean I can just hang one section for each of the four walls - much easier than trying to butt two pieces together. But in the meantime at least now I can sleep in my room again.

Saturday, December 3, 2011

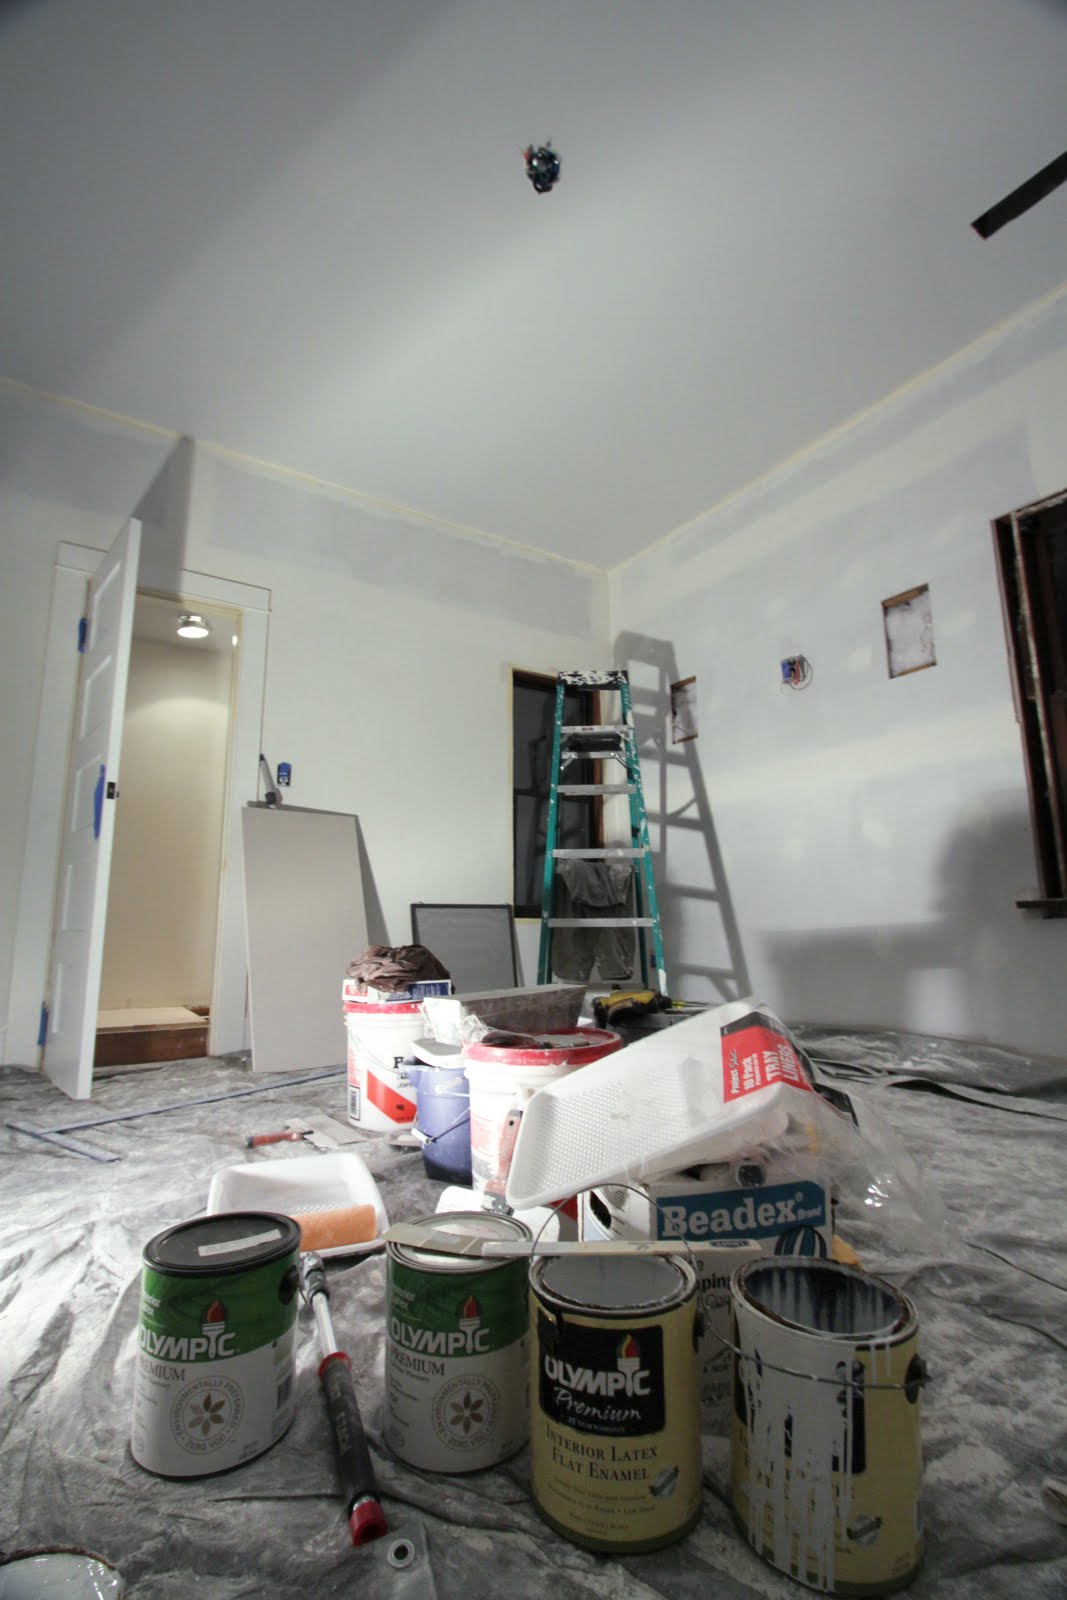
mudding and taping and priming and painting.

Ahh, the joys of mudding and taping sheetrock. It was a rough start. Been a while since I started (but, umm, have yet to finish) mudding the laundry room in the back of the house so I was a little rusty. And I thought I knew better so I didn’t bother re-reading the instructions I found online and printed years ago before I mudded and taped the kitchen. So I wetted the tape, stuck it to the wall and scraped some mud onto it. Then wondered why the tape wasn't sticking. Uhh, mud goes first ...

After a rough start and getting back into the hang of it, I started to rock and roll.


Two coats of the regular mud making sure to scrape off enough of it to never have to sand it. Then put on the final topping coat. I was vigilant. Every day on the Thanksgiving holiday weekend was spent putting on a coat - Thanksgiving was the taping fiasco, Friday the first coat (I’m not good enough to combine the taping and applying the first coat in one step - plus I don’t have one of those nifty taping hoppers despite seeing one at a yard sale a few years back but passing it up), Saturday the second and Sunday the light topping coat. Always (always) use a topping coat! As I applied it then took my 10” knife scraping against the sheetrock I smiled - that last coat was beautiful. I had gotten my groove back. Then I sanded it Monday evening. I was afterall in a race to finish painting the room by the coming Thursday when my piano - in whose spot I was sleeping for the time being while my room was covered with a tarp and a complete disaster - was being delivered. So Tuesday night then was spent priming the drywall up til past 1 in the morning.


And then - finally - the big day: Wednesday. Paint = color. Yea!

I was up til 2:30 first painting the ceiling then putting the color on the walls. For all the ceilings I’ve been using Benjamin Moore HC-170 stonington grey (all ceilings are the same color for consistency) and for the walls - years ago I picked out Benjamin Moore HC-98 providence olive and - despite trying out a couple other options - ultimately sticking with the original plan figuring I was onto something way back then when I first chose that color. I had Lowe’s mix it up balanced to daylight like I did for the fairview taupe in the living room.


As I put it on I smiled - I really really liked it (I use Olympic paints - it’s about half the cost of BM interior paint - flat for the walls mixed to match my particular Benjamin Moore palette and semi-gloss brilliant white for the trim).


I finished the first wall ...


then quickly the rest of the room -


I was actually enjoying the mudding - kind of surprising actually. It's satisfying to do this kind of work yourself and be able to stand back and admire a job well done.

And so now what’s left is to paint (it’s already primed), cut and hang all the trim. Yeah - ‘all that’s left’ ... I have to trim out both windows and the three doors, put in all new baseboards (I ripped out the remaining - which turned out to be a combination of pieces of plywood and particle board) and then ... I think this will be the first room in which I hang my crown + casing + bead molding along the ceiling (which is saved me a bit of time - though I’m sure that won’t be an easy task - since I didn’t have to put three coats of mud all along the ceiling corners or worry about cutting in along the whole ceiling either). So tomorrow morning I go to Home Depot to get the trim and spend the weekend painting, cutting and hanging. My stapler and 6-gallon compressor will come in really handy again. But then it’ll be just about finished - still have to decide carpet or no carpet ...

(ps - I have photos of my room before I did anything after first moving in and there was white wallpaper and a drop ceiling - to after I had ripped out the ceiling and it was piled in rubble on the floor about six inches thick to no walls to now and eventually when all the trim is hung and it's finished - I'm waiting to dig up those old before shots for that last post ... )

Saturday, November 19, 2011

sheetrock.

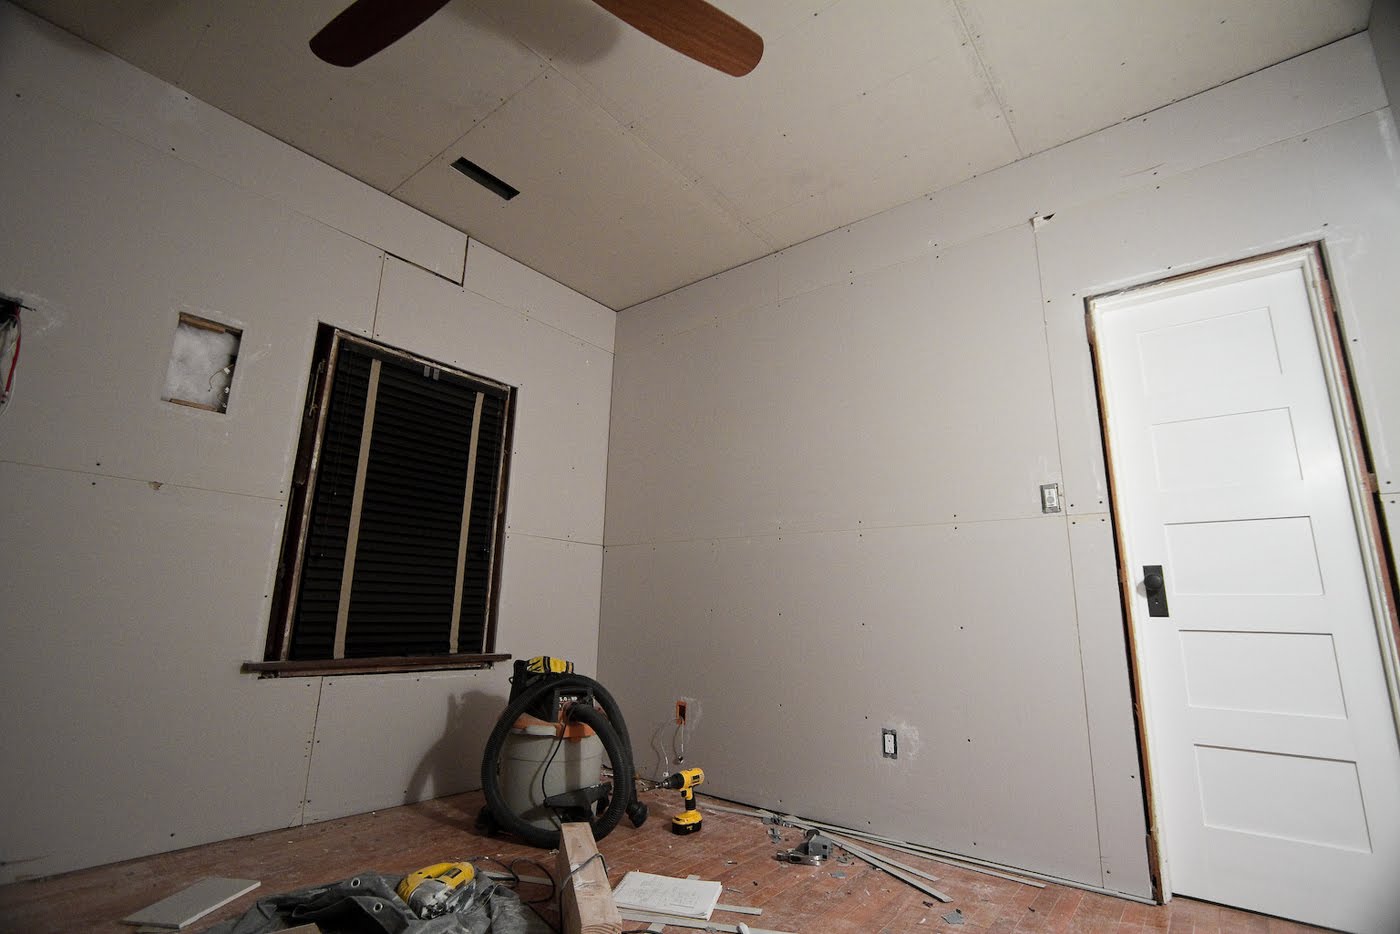
So Sunday rolled around. Yep - time to hang sheetrock. This is how my room has looked for the last - umm, maybe three years (maybe more, can’t really remember anymore) -


Well - the speakers and the doors are new ... so yeah - time to hang sheetrock. But first - I caved. I figured I had the audio wire so what the heck - I ran the cable for two surround speakers and a center speaker. Now it’s in the walls for when I get around to possibly using it. It’d have been much harder to do that once the walls were up.


Then once I had that taken care of I got to work cutting and hanging sheetrock. Uhh - I forgot how heavy that sheit is. And how much of a mess it makes cutting it. It’s dusty. Really, really dusty. And did I mention heavy? Julian helped hold while I screwed the first piece in -


I used my jigsaw to cut the holes for the outlets and speakers -


And after I think ten hours or something it was all up - and then my room had walls -


The problem is - well - that it’s my bedroom. And hanging drywall is dusty. So I need to hurry up and finish mudding and taping. Cos in the meantime - and I’m lucky that I have a hole where the piano would normally be (which I am going down to Portland to play for the first time in almost six months) - I’ll be sleeping on the floor in the living room -


So yeah - have to hurry up and finish this little project.