So, umm, the laundry room has looked more or less like this now for something like the past five years -
Half-mudded sheetrock, and bare, unpainted walls. But that doesn't really go back far enough... So stepping back a bit more in time, I found this one (I think it's the oldest photo I have that shows the laundry room) -
If you look hard enough, you can see the original wallpaper behind the dryer (not to mention the layers of wallpaper in the kitchen I opted to - instead of trying to rip off because it was pretty stubborn - just tear down the walls and rebuild them). In the laundry though, I ripped it off as best I could, and ended up with something like this -
(that scrap of sheetrock leaning against the wall I remember was covering a hole I had ripped in the wall to do plumbing in the bathroom - classy, I know)... And notice the spectacular light fixture in that first shot, and the drop ceiling. So, well, then I ripped out the ceiling -
Which left the drain stack hanging loose (it had been installed between the 'real' ceiling - in this case, beadboard because this probably used to be a back porch - and the drop ceiling) -
and a wall that now didn't go all the way up to the ceiling -
So I did some framing -
hung a new sheetrock ceiling after bumping the drain stack up into the attic, then wired a bunch of electrical (mostly for the bathroom on the other side of the wall, but also some recessed cans in the laundry room) -
And that's where I left it, like that first photo...
So then... fast forward to maybe two months ago, when K and I decided one evening - apparently with nothing better to do - to rip out the carpeting in the back stairs -
pick out some paint swatches -
(based on the color of our chicken Thump's eggs) -
and get to work.
The project should have been daunting, but I knew it needed to get done. Besides all that work from years prior, it would now still require a little bit of everything: finish mudding and sanding the sheetrock, fixing the walls in the back entry (where some owner before had hung cedar shakes, of which I'm remorse for not having a photo), priming and painting the walls and cabinets, redoing the plumbing for the washer and dryer, doing some electrical like updating all the outlets and wiring undercabinet lights above the appliances, cutting and hanging all the required trim (including baseboards, nine window and door casings, and crown molding), installing custom paneling in the back entry, put in hardwood flooring on the stairs, and... last but least... tiling a backsplash of sorts behind the washer and dryer.
Fortunately I've already done all of that in one form or another around the house, so I had all the tools (well, I splurged on an 18-gauge brad nailer to hang all the molding and paneling) - I just now had to actually do the work.
So after a few straight days of one coat after another, the mudding was done in the laundry room and the back entry -
And then it was time to paint -
First the ceiling -
then the walls -
Note: I've always used Olympic paints throughout the house, but apparently Lowe's now only stocks (and/or Olympic only makes) these primer + paint combos, like 'Icon' (I think the other is called 'One' or a similar name that some ad guy thought sounded clever). Dubious - and ultimately rightly so - of a paint that thinks it can be a primer, I discovered this is the worst crap paint I have ever used. Lllll-iterally (sounded out by holding the 'L' sound for a while). I don't know if it's because it's supposedly a primer and a paint, but the second coat I put on dried lighter (literally, again) than the first. WTF? I will *never* (EVER) use that stuff again...
But crap paint aside, the act of painting is fun, and the results of course are immediate -
Holy cow! This is the best this room has looked since I moved in eight years ago...
Then it was time to shift gears to power tools. Lots of power tools.
(I was excited... )
But first, some sketches -
(all the casings I would have to build for the windows and doors)
(all the angles of every corner that I would need for the baseboards and crown)
Then to set up shop...
And pull out the flippin' awesome
table saw (seriously, that thing is so much fun to use!) -
Eventually, since I could not possibly finish this in a day, the shop took over the garage (and ended up including the
router table) -
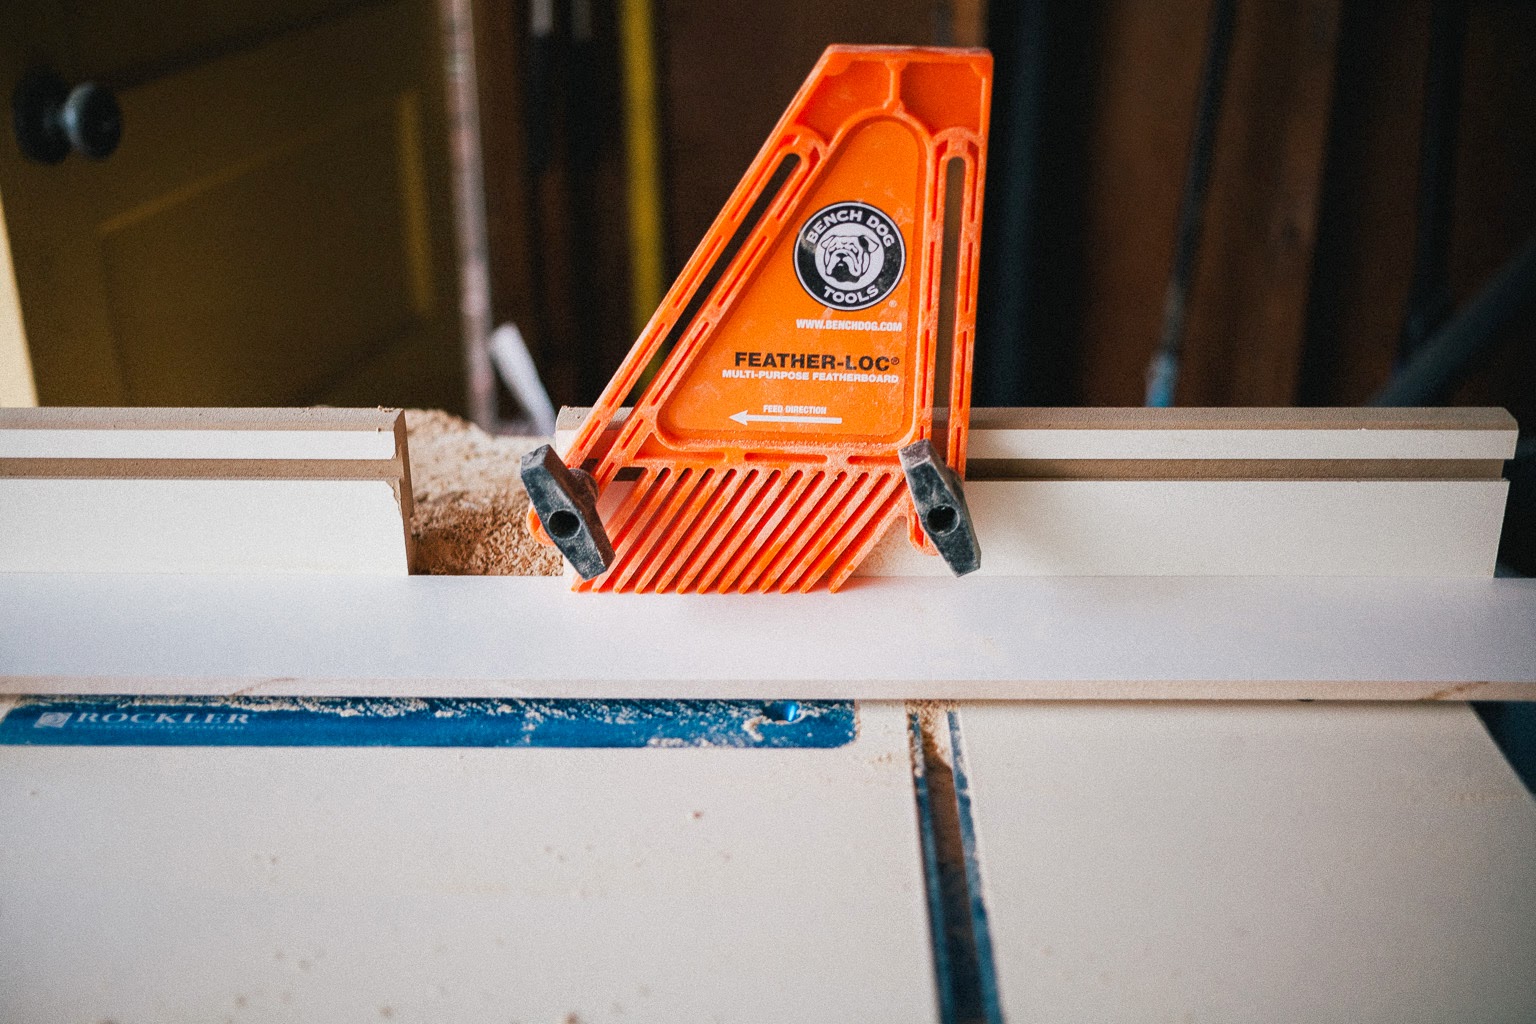
I used the table saw to rip down casings, mill off the rounded edges on some of the molding -
trim the 3/8" fillet so it just sticks out from the 3/4" header casing for each door and window -
rip the 1/4" panels for the back entry walls, size the wood flooring pieces to fit the treads and risers to the staircase, and I forget what all else... It was spectacular, and I cannot imagine not having it (though somehow I did a lot of this similar work, just with lousier tools).
The router helped fit a window sill for the back window, and groove all the edges of the 1/2" casings I was using for the paneling -
It was dusty work (MDF makes a LOT of dust, though it's easy to work with and significantly cheaper than real wood when all I am doing is painting it with a semi-gloss white), which sometimes required using the air hose to take an 'air bath' -
(Umm, good times... )
I'm still waiting on the crown pediment to go above all the doors and windows, but most of the molding is installed -
Then... then there was the paneling. This was, well, pretty intricate - and got sort of complicated... The concept though was simple enough: with the grooved 1/2" 1x4s and 1/4" subfloor paneling (which was CHEAP - $12.97 for a 4x8' sheet at Home Depot) ripped to 18"-wide panels, I started measuring and tacking to the walls -
(having the grooved edge allows for an allowance so not all the walls and not all the panels have to be cut perfectly - it's a trick I used on the paneling I built over the
fireplace). The first corner wasn't too terrible -
Then it came to working around the stairs... To figure out the angle I needed to use for the baseboard that was going to follow the stairs (cut from a 1x12), I used a 4' level and an angle finder -
It was certainly convenient that the angle turned out to be 30º... phwew. Knowing that, I was able to cut the two baseboards and all of the vertical paneling -
And... it was finally starting to come together... ('starting' is the key word - there was/is still much work to be done... )
Meanwhile, K sanded the inside of the back door and painted it white -
while I shifted gears again... this time, to hardwood flooring. Kind of a pain, I'm not gonna lie. I opted to pre-drill all the blind nail holes (actually, J helped drill all the holes) because trying to nail 4D nails into solid oak was an effort in futility. The risers were pretty easy -
then J and I moved to the treads -
and after a few hours, they were finished!
This photo that K took sort of tells the story - of working late nights to keep this thing moving...
And mine of the table saw, covered in sawdust but happy to see some action...
Next up... plumbing. I still really (really... no, really) hate plumbing. But the plumbing that was installed was pretty crappy. Here we have Exhibit A (minus part of the wall) -
Note the crappy shutoff valves, and hack-of-a-job drain for the washer (seriously, they couldn't even cut the ABS plastic neatly)... So I wanted to redo it, and make it a little less of an eyesore. Enter... my old friend PEX (the blue and red flexible PVC - it's a pleasure to work with, is - well - flexible, and a breeze - if not a tad pricey - to couple and join and install)!
This meant ducking under the house in the crawl space to cut into the existing hot and cold supply lines (always a little scary cutting into your home's plumbing), but thankfully (like with the guest bath) a previous owner had 1/2" PVC coupled to the 1/2" galvanized crap - so I just had to cut where the galvanized was spliced to the PVC. I then sawed off the ugly drain in an effort to create something a little nicer, without redoing the entire drain line to make it fit in one of those handy laundry boxes that seem to be all the rage -
With the plumbing updated (I also bought some shiny new shutoff valves that will be installed later), it was time to move to the next thing... electrical!
I still really (no, really) like working with electrical, and so on a whim I decided to install some undercabinet puck lights (mostly because I think they're cool, and had cut a huge hole in the wall to get at the plumbing and it would be relatively simple to install them). The hardest part was figuring out the wiring, since this outlet box was in the middle of the circuit and I needed to pull power from it. Thankfully, I take lots of pictures of the work I do, so I was able to easily find
this one that showed the same circuit I used in the kitchen when I installed those undercabinet lights.
Phwew, although it looks like a big, huge mess of wires... Thirty minutes or so of wiring it up, then I flipped the circuit back on and - presto! - lights!
The outlet box was pretty nifty too, so I'm gonna mention it -
... it was a little pricier than other boxes (about $6 or $7), but it's adjustable - moving the screw on the lefthand side brings the box forward or backward, so you can line it up perfectly with where it needs to be with the wall - a really cool thing since I didn't exactly know the depth the wall would be once the tile was installed. Anyway... sometimes it's the little things...
So with the plumbing and electrical finished (and all the outlets updated), it was time to move onto... tiling.
I also really (no, really) like tiling. But before I mention the tiling, a little side story... I always want to get rid of stuff, but sometimes that's hard because I think to myself how I might be able to use that (insert object to be considered for tossing/donating here) someday. Well, I had saved a scrap piece of cement backerboard in the garage ever since doing the tile in the shower of the guest bath I think seven years or so ago now. And it just so happens that the scrap was literally the exact size I needed to tile behind the washer and dryer! Literally. The exact size.
Boom! Done.
The first step then was to level and hang a scrap strip of molding for the first row of tiles -
Then it was just a matter of spreading the thinset and laying the tiles, using my handy
tile saw I bought at some garage sale or other for $20 shortly after moving into this house to cut out for the plumbing and electrical box -
(K helped)
and so on until it was finished (and grouted) -
And that's kind of where it stands at the moment... It feels good, and it's winding down.
Once the crown pediment is ready, I'll pick that up and build all the window and door headers, then caulk all the trim and tile, and finally paint it all a semi-gloss, brilliant white to match the rest of the trim throughout the house. We'll have to clean the floor pretty good, and eventually install the hardwood flooring on the staircase leading down to the basement (for which I already bought all the flooring and bullnose). Oh, and hang all the crown molding. And re-install the stairway railings I sanded and stained. Then probably some touch-up stuff, and that'll be that!
Then time to move to the
Jack and Jill bath between the two bedrooms...