When we were touring the Boeing Flight Museum last month - in the old section that was supposed to replicate (or was... I can't remember now) the Old Red Barn (the first Boeing factory) - I got an idea for a desktop that I could make out of glued-together rough lumber. So a couple weeks ago I went to Home Depot and picked some out... the last of the lot on the pallet. No worries cos I wasn't being picky (this time) - the knottier the better.
I started then with some rough 2x2s...
The key was the little 12" planer I bought from a co-worker's dad for forty or fifty bucks a few years back... so I lined them up in the order I thought looked good based on knots and grain and such, numbered them and fed them through the planer a couple at a time to square them up nicely and plane off the dirt and such. J helped. I didn't really get any good shots of the process but then we glued and clamped them and let them dry for a day or so.
J also picked out a maple-colored stain he thought looked good that I finally applied the other day after boring holes through each end for a 3/8" threaded rod I also picked up at Home Depot to give it an 'industrial' look (strictly ornamental... but it would appear to also serve the purpose of holding it all together). Then rubbed on some poly (my favourite part of finishing!)...
But that was about it. Oh... I routed one side to have a nice edge on which to rest my wrists...
Like so...
Yep... that was it. Easy peasy. This was really just a test afterall - now that I know it works I'm totally going to do more of this type of woodworking (glueing up pieces of rough lumber) for other pieces of furniture I plan on designing/building...
Tuesday, October 29, 2013
Monday, October 21, 2013
rooftops and garage doors.
So for some inexplicable reason the garage has gotten a lot of love this summer-and-now-autumn...
Earlier in the summer I totally cleaned it out and organized it taking a load to the dump and one to Goodwill. It was a huge improvement and we could actually see the backwall (where I took to hanging our bikes).
Next - and I never mentioned this cos it didn't seem that exciting... though in the vein of full documentation of this little house I am mentioning it now... A couple years ago on a trip to the Puyallup Fair I intentionally stopped by one of the booths of a dude selling garage doors (intent on actually updating the ugly fiberglass garage door after having finally painted it, hanging new trim and building a gable vent and installing cedar shakes like I did on the front of the house earlier that summer).
But all the garage doors were the uninspiring cookie-cutter kind that looked like everyone else's so I never called the guy back (though I gave him points on his dedication for trying to persuade me).
And I'm cheap.
But finally this summer it got to me... so I did something. With some oil-rubbed-bronze-type spray paint I had left I first painted all the ugly aluminum hinges and handle -
Then I primed the door with some leftover Kilz.
OK - so far so good and not a dime spent... Next I had to decide on a color... this was tough. I wanted something bright that would contrast with the otherwise pretty Earthy palette I had chosen so far (traditionally - the door contrasts the most with the rest of the palette whilst keeping roughly in the same saturation/lightness - so on an HSB scale the hue can contrast pretty drastically but the other two should be about the same as the rest of the palette - and... I digress... ). But sticking of course to the Benjamin Moore Historic Collection... HC-10 Stuart Gold it was -
And in an afternoon the garage door went from some weird tan-ish fiberglass to bright yellow -
I'm still not entirely sold on it but... another afternoon and $20 worth of a quart of Benjamin Moore paint and I can fix that.
That was back in July... fast-forward to this weekend where it was time to put on a new roof.
I don't have any good before pictures that show the roof covered in stupid pine needles and moss - but it was time to replace it. No doubt the original roof from when the garage was built sometime back in the eighties... the roof on the house had been replaced after and didn't match the garage (thankfully cos I really kind of like the reddish-brown colour of the house shingles). And so I ordered up eight squares and an extra bundle (for the starter row) in 'Bronzed Brown' and got to work ripping off the old stuff...
(No pictures of that enjoyable process - which involved tearing them up with a shovel and tossing them over the roof into the bed of my truck waiting below - thanks Stuart!).
Here's a stack of cut tabs that I'd use for the ridge cap...
After the old shingles were peeled off and every single nail pulled Scott and I went to work laying the sealant sheeting and then... well - nailing the shingles. Lots of shingles.
But it goes fast and we had a good system... and before we knew it the first side was done -
It was - well - systematic... Cut the shingles to pre-determined sizes for the book ends -
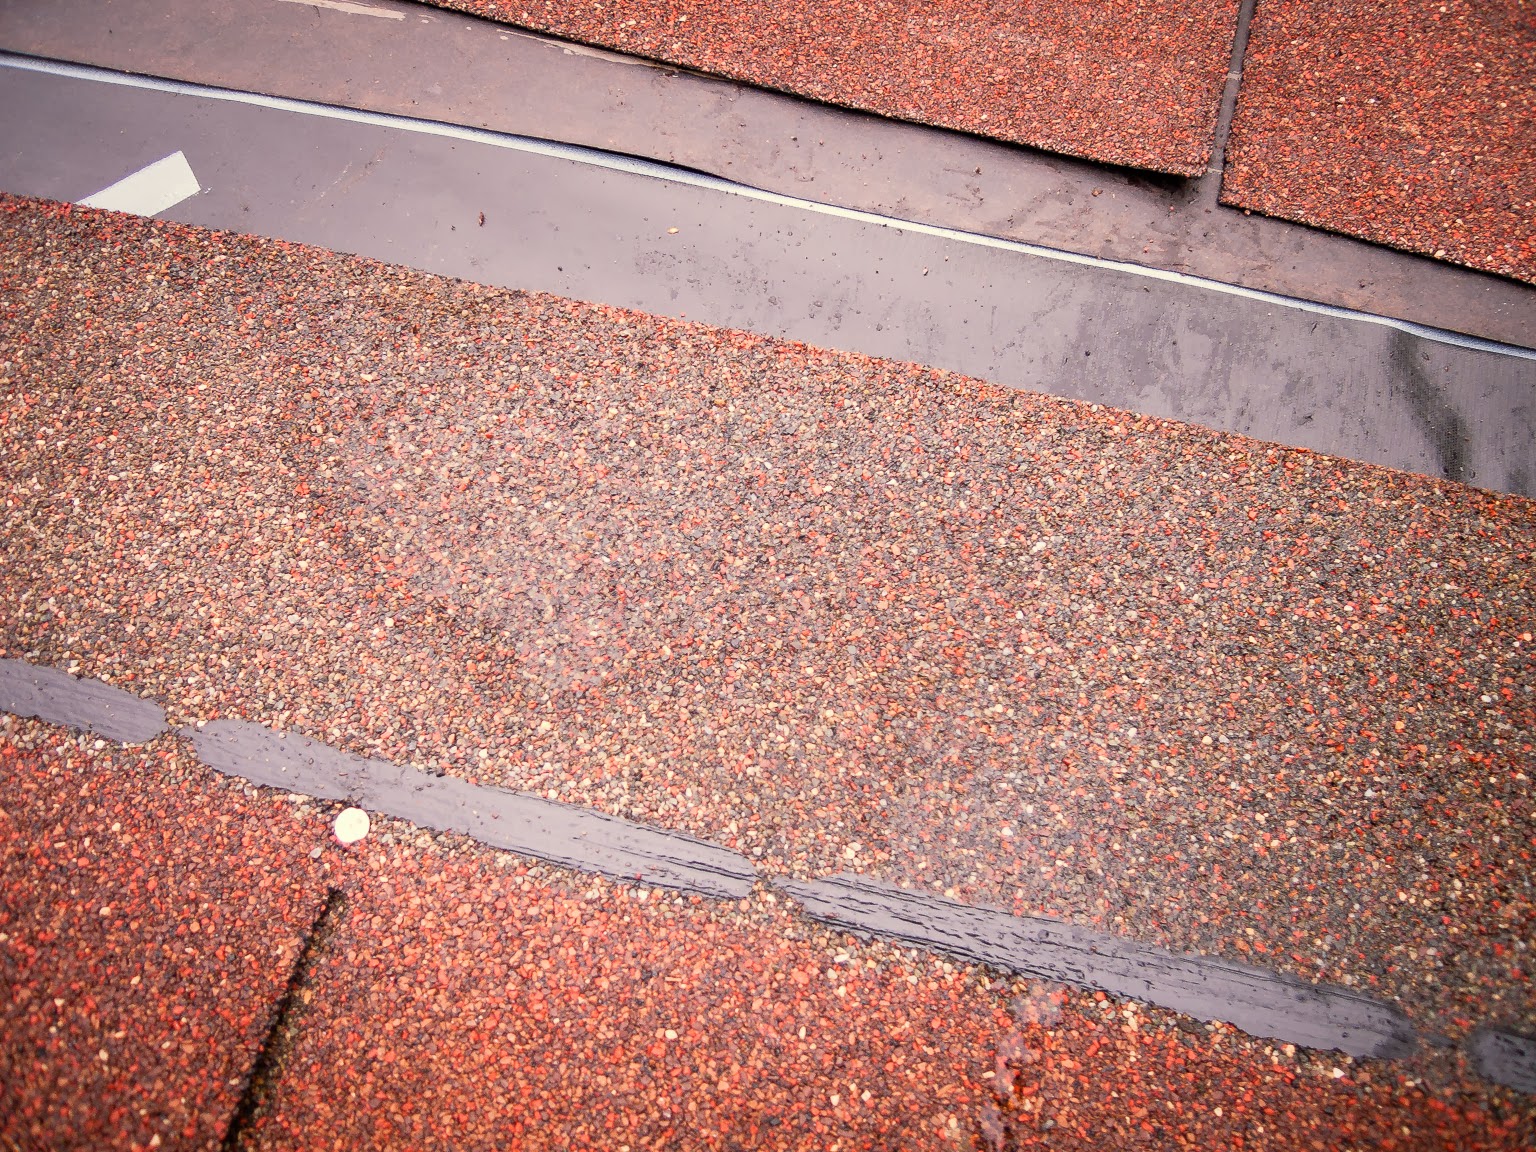
And check the level-ness of the rows by the white line on the sheeting -
Despite the forecast calling for sunny weather it didn't really end up as such... though it never rained both mornings were wet from fog.
But like I said - despite all the methodical cutting - roofing goes quick. And before we knew it... we were done (actual drip cap now and all)...

And the garage roof now matched the house -
Still to do then (on the garage)...
- hang some lights on the outside of it that turn on with a switch by the back door (already wired)
- hang 4-6 recessed cans for better lighting inside the garage
- finish hanging the trim on the south side
- pressure wash and spray paint the gutters white
I think that's about it. Nothing terribly costly since I have most of what I need already (well - I'll probably need to buy some more cans of white spray paint). Just time. Always time.
But I had a lot of fun roofing and it looks great - nothing much more satisfying then the feeling of a manual job well done... and done right.
Thanks Scott for all your help, extra supplies and expertise!
Sunday, August 25, 2013
shelf [part two... and done].
So today - with rain in the forecast (i.e. no skiing at Rainier) my backup plan was to finish this shelf (so I can move on to the next project... for which I have quite the list going but nothing narrowed down - though I'd love to build something else... ).
That meant having to dado all the joints... so off I went clamping the jig to each piece and being careful to route on the correct side of my line (thankfully I only screwed up once - on a small piece for which I had enough scrap to recut)...
Eventually after a couple of hours I had a nice pile of dadoed wood...
And then... time to start putting this 6'x4' puzzle together! I figured building it lying down would be easiest - and so I quickly had the first half done glued and drying...
I realized at some point though it was gonna be hard to get this thing into the basement and that... maybe I should build it with screws instead of glue so it can be disassembled for easier transport. But it did pretty much go together like a puzzle - fit the right pieces together in the right order and BAM! Done!
With hooks on the end for ice axes and poles and such...
And a cubby for tents...
Then let the bin organization begin... (!)
I am stupid-excited to get this stuff finally organized properly. I don't know exactly how much the jig cost to build (probably $20-30) and the plywood was $35/sheet x 3 sheets. Not terrible for a custom randomized shelf.
And maybe the coolest part... it's modular!
Meaning if more room is needed I can build a top section (just 2' tall to make it a cool 6'x6' cube) that will line up with the four vertical ends - they can be stuck together with dowels even. Yeah... maybe I'll get started on the add-on right away hehe...
Thursday, August 22, 2013
shelf [part one].
So tonight I decided it was high time to get rolling on this shelf. I'm excited. And I need some organization of my outdoor gear. Bad.
With 23" wide sheets of plywood to cross-cut I broke out my garage sale find Milwaukee circ saw. I have to say... it's definitely worth the $30 or so I paid for it over my old Skil. That thing was notoriously unable to make a perpendicular vertical cut which was lame. But this Milwaukee did a fine job! I tested each cut with a square...
Perfection. Or as close to it as possible with a hand power tool.
I used my trusty $20 guide and the included C-clamps (along with my 48" drywall square) to make some just-about-perfectly-straight and really really square cuts...
And ended up with a pile of lumber ready to be dado-ed!
Not enough time to start that tonight... so I just did my test and got everything ready for the real deal this weekend. This meant I got to test out my awesome jig!
Which basically worked perfectly. The only tough part was the pattern bit is only a hair over 1/4" high... and I'm trying to make a 1/4" deep dado. So it took some finessing to get the depth of the router set just right but then it was a piece of cake to make the dado joint...
Then fitted a second piece of scrap wood to test the joint...
Perfect! And ready to rock and roll... I'm excited to do all the joinery and really use my jig. And then get to organizing my gear!
Wednesday, August 14, 2013
dado jig.
So - umm - I tried organizing my outdoor gear. A while ago. So I got a couple big bins and a couple medium bins and a couple small bins. And I threw everything in them. Ugh. Still took me hours it seemed to pack for a simple overnight. And I go on overnight trips to the mountains... kind of a lot (I'm up to fifteen nights in a tent so far this year... halfway to my one month in a tent goal... ).
But to start I brought everything in from the garage to the basement. And it ended up - uhh - looking something like this -
Sooooo... I decided I should build something proper. Out of plywood (even though plywood is sort of stupid expensive anymore if you actually want anything decent). Ended up costing about $100. And my design turned out something like this -
So starting with the plywood then -
The key to this whole cubby-slash-shelf thing working is the joinery... all the joints are dados (which I've never done before). They can sort of be done on a table saw with a special dado blade but - well - not very easily (or should I say 'safely' since the guard has to be removed) and definitely not for this kind of project where the joints fall in the middle of say a six-foot-long sheet of plywood.
A router it is then...
But in order to dado properly with a router I really needed a jig. So I hopped over to the interwebs and found a couple different ones. I liked one in particular that used a pattern router bit - and thus did not require an extra piece of wood to be used as a router fence (so the jig was simpler to build - and pattern bits really aren't much more expensive than regular router bits).
Off then I went this evening to make the jig... I used a piece of 1x3 oak for the square ends and clear pine (a 1x4 and 1x6) for the cross sections. Then some jig parts I picked up at the local Rockler (where I ended up in a long chat with the old guy about photography... ). By far the toughest part was making absolutely one hundred percent or more like one hundred ten percent that the fixed part of the jig was square -
Then I clamped everything down super-duper-über tight and drilled the four screws (I even took the time to countersink the holes cos the router will need to glide over the jig and not catch on the screw heads) -
Once the fixed section was in place it was time to route out the slots for the screws - once again everything was totally clamped down while I routed out the 1/4" slots -
Then had to drill in the oak for the screws - set in place with some T-nuts (which I countersunk using a 3/4" spade bit) -
Screwed in the bolts and slid the adjustable part of the jig into place -
Then attached the knobs -
And it was done -
The key again is the pattern bit -
(Note how the bit is below a spinning collar - which follows a pattern - hence the name - or in the case of this jig the edges of the jig)
So the way the jig works is I will use a scrap piece of the plywood to set the width of the jig - clamp the knobs down tight - and route a 1/4" deep slot where all the joints will be. And the reason a jig is needed in the first place - instead of just getting a bit the thickness of the plywood - is because plywood is notoriously inconsistent in thickness (yeah - Rockler makes off-width bits but with this jig I'll be able to get a one hundred percent perfectly fit joint).
Yep.
Now to cross-cut all the 23" wide sheets of plywood to the sizes I need and then start dadoing. Lots. And lots. Of dadoing.
Subscribe to:
Posts (Atom)