

After an hour or two of letting it warm up, we were able to tell where the heating element was (and was not). The floor was warm! Something I didn't realize... the thermostat works in two ways. 1) It can set the temperature for the floor, and 2) it can work as a room thermostat, letting the floor element heat up the room to the set temperature. Kind of cool. We'll play with each, but like I mentioned - it may be nice to use the floor element to heat the room as needed, and just shut the furnace register in the ceiling, letting the heat get forced to the other rooms of the house.
With that done, it was time to start hanging walls and making this start to look like a room. A year or so ago, a friend was moving and gave me a bunch of 1/4" cement board that has been sitting in our garage since. Time to put it to use.
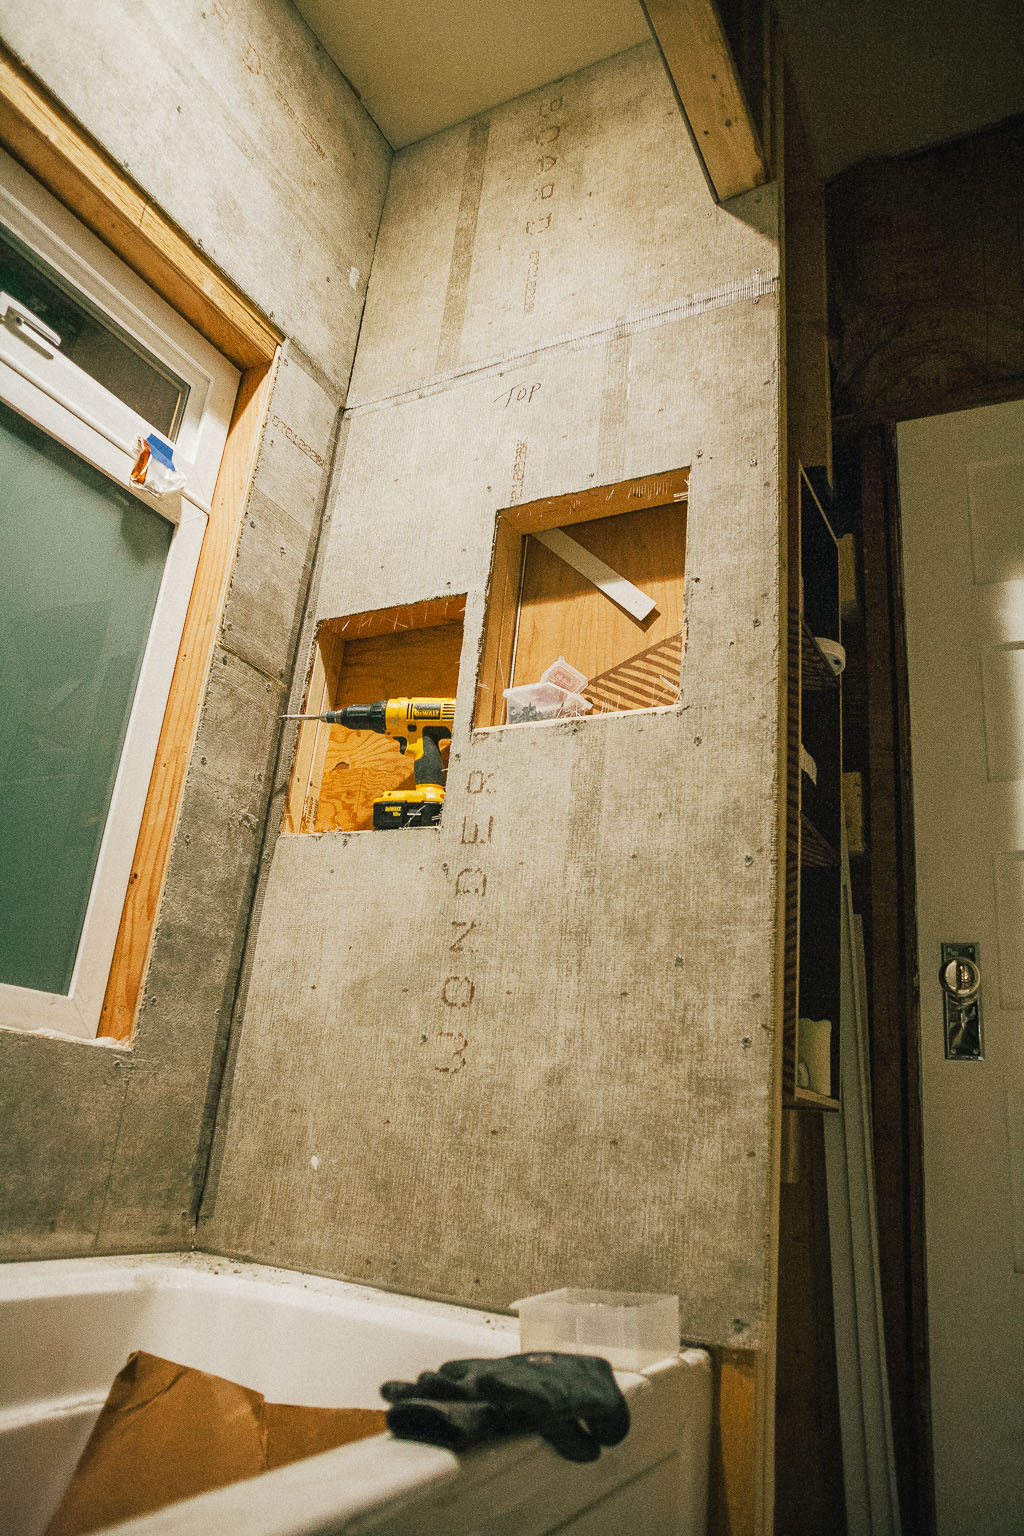
The shower stall wasn't terrible, but there would need to be cutouts for the 'His' and 'Hers' built-in shelves we'd be tiling, as well as (duh) the plumbing. The shelves were interesting. It was a bit of a process...
Start with a cardboard template that I held to the wall and traced the outline of the boxes from the inside -

Cut it out with a utility knife -

The template recreated on the backerboard -

Score with the carbide-tipped cement board cutter -

Then start punching it out with the hammer all around the edges (after propping it up on 2x4s). Clean up the edges, and wallah!

Corners, like the inset of the framing that hangs down from the ceiling, required two cuts and then pounding with the hammer on 2x4s just underneath the outline -


It took time - most of the afternoon in fact - but eventually we hung up all of the board and finished the shower stall.


The cutouts for the plumbing were done with two other cardboard templates, and they were (dare I say) perfect!


Today, then - I had to finish the wall that would be tiled behind the custom vanity. For this, I was using 1/2" cement board so that it would be the same depth as the 1/2" greenboard sheetrock (the tile is only going up the wall to a height of 46"). Again, more cardboard was in order to line up the cutouts for the plumbing stub-outs and electrical boxes.
So then, step-by-step...
#1 - hold the template under and next to the stub-outs and mark the size of the holes in order to find the center, then draw them larger than necessary with a felt-tip pen.

#2 - cut them out with a utility knife and test fit the template on the wall, double-checking to make sure the center lines are accurate (and adjust if necessary).

#3 - once the centers have been confirmed, transfer them to the cement board.


And here's a pro tip: if you have an infant napping in the house, clip on the ol' baby monitor to a pants pocket in order to hear if they wake up : )

That's right... this little guy just turned 2 months yesterday!

Ok, back to cement board...
#4 - Use a hole saw to cut the necessary size hole(s) for the plumbing.


Then, just for fun - line the template back up on the board and confirm the holes were drilled correctly before heaving it into the room...

#5 - Yep, heave the board into room, cross fingers, and install against the wall - hoping it fits...

Boom.
I did the same thing for the two electrical boxes -

And then, the wall was finished!

Well, the cement part anyway. Next I'll hang the sheetrock, and then start mudding and taping (yay, but thankfully there isn't much sheetrock to hang - just two walls... ).
No comments:
Post a Comment