
Nor would the six-foot-tall behemoth fence Trevor built a few years ago -

I guess I was looking for something that would fit more with the style of the house... So I drafted up some plans in my trusty sketch book -

I was going for a gate header that was notched just like the architectural beams on the house (and the ones I similarly replicated back on the garage)...

Then figured out supplies. I wanted to do this pattern of a 1x6 with three 1x2s in between, but holy cow were cedar 1x2s expensive. So... enter table saw. Its first real project! The beauty is that 1x4s were ridiculously cheap (I think they were something like $0.60 for a 1x4x5' #3). So with the table saw -

a pile of 1x4s -

and a Julian helper I set out to rip a bunch of them in half -

A half hour later... wallah - a stack of 1x2s -

That was the easy part, and the table saw was seriously a thing of beauty to use, if that phrase even makes sense (which I'm not entirely sure it works in this case). Anyway, I discovered at some point that cedar is not measured the same as other dimensional lumber... in that, a 1x6 is actually 6" wide (instead of 5-1/2"). It's kind of a good thing I discovered this before I started stapling the cedar to the frame - as it happened, it was just a matter of redoing my math (and then realizing of course that I had too much lumber... ).
But up went the 4x4 posts in quick order -

And then the 2x4 joists -


Making sure they were level -

That was actually kind of fun, I have to admit. And relatively easy. Measure 8' in between the posts, dig a post hole, plop a 4x4 post in the hole, level, and fill with concrete. And then I stained them...
Then it was time to start stapling the cedar boards. The math worked out perfectly - with a 3/4" gap in between each board (I intentionally had a maybe-larger-than-typical gap for the style I was after). But that meant I could just use a scrap piece of 1x lumber to set the gap - and so it moved along pretty quickly -

I won't go into the details of the nearly two months the fence sat with half a section in place because of my stapler that sprung a leak, my frustration of ordering a couple different parts kits but not being able to seal every leak, and the repair place in Seattle that then took another month-and-a-half to fix it. Needless to say, it will be a cold day in H-E-double-hockey-sticks before I take a tool there again to be fixed.
Anyway... then I had to build the header I had in mind from 2x6s and 2x4s. This required a jig saw to cut the 2x6 cross joist (and a wood file to smooth the cuts) -

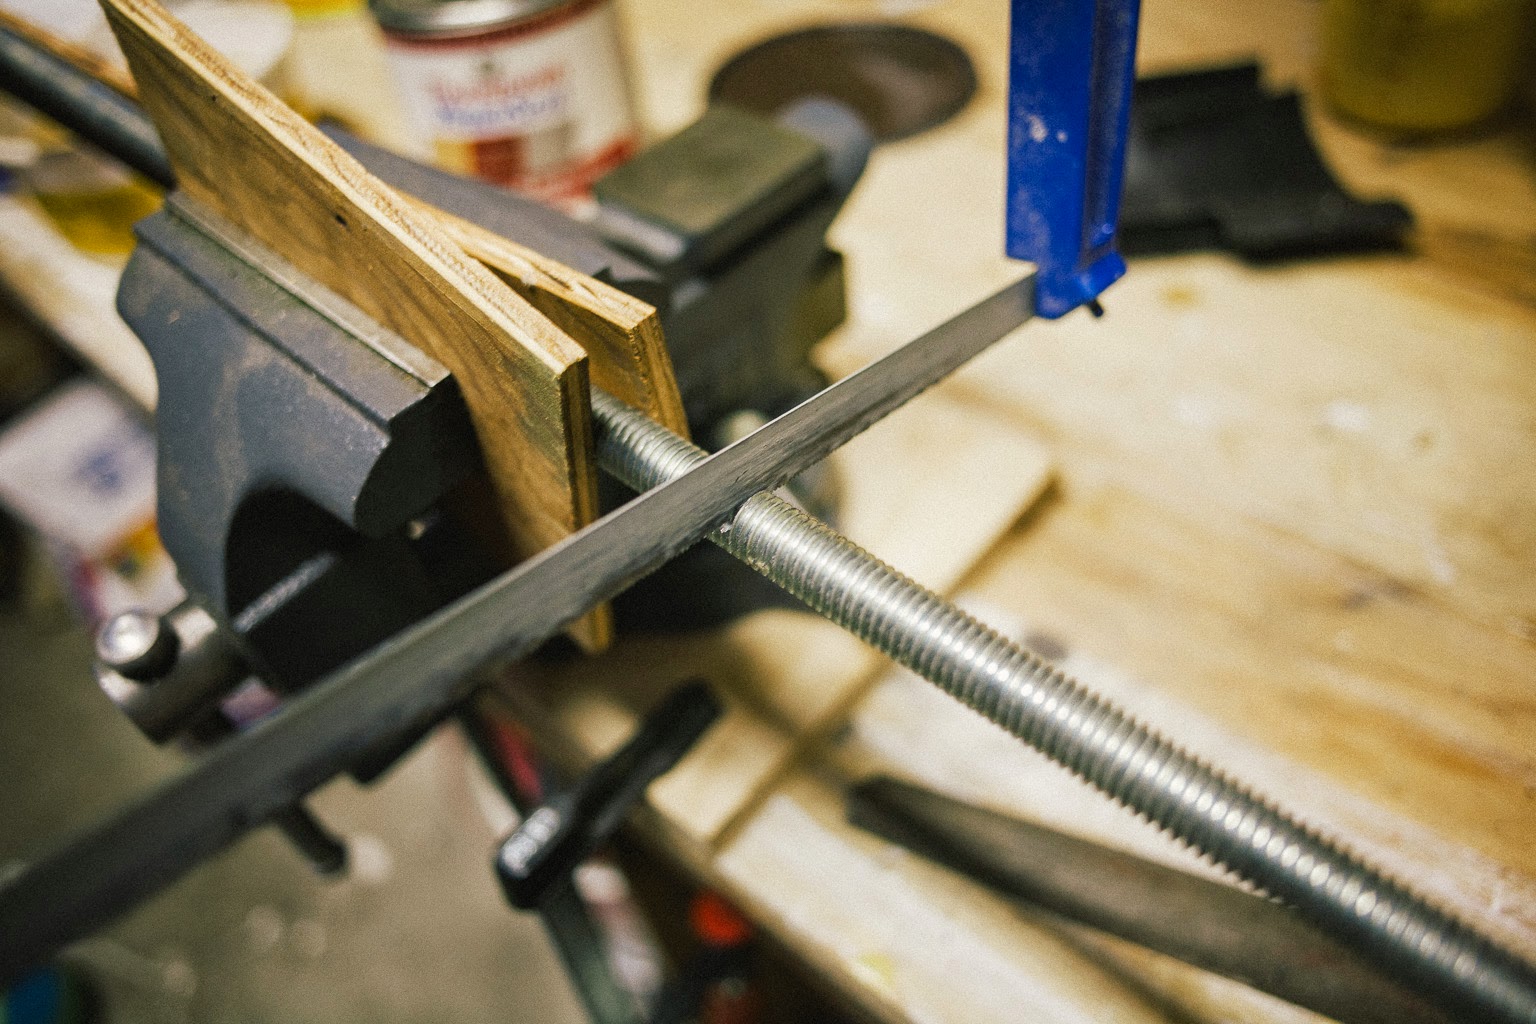
And then a hack saw (to cut the 1/2" threaded pipe that was a little detail I was including to attach the 2x6s to the posts) -

Then attach the six 2x4s (similarly notched) and the header was finished -

Then... the gate, which I built from 2x4s -

K stained it, and I hung it -

And finally, the last little detail I planned was to stain the 1x2 boards the same dark stain as the cedar shakes above the house (and garage), and the wider 1x6 boards a much lighter stain. And then it was finished -

I have to admit - I like it. And I kind of like having a fence. Now I just need to build something between the back of the house and the garage to completely secure those three little chickens...
