For the bathroom, we needed a vanity. Duh. Just preferably, not something like this (taken at the cute little inn we stayed at in Bar Harbor, ME earlier this month) -
A great example of the classic, pre-fab, Big Box, MDF veneer, totally cheesy vanity. Yeah, so no - not that. A few years back, I blogged about making stuff, not buying new stuff, and fixing stuff. So with this bathroom remodel, we want to reuse as much as possible. And we knew for the vanity we wanted to find an old dresser, desk, something, and turn it into a vanity. So in looking up ideas, I came across an article that said in order to accomplish that, we would need to hire an expert carpenter and a crafty plumber.
Ok, then - time to find out if I fit the bill...
Well, first - to find a piece of furniture that would work. We scrounged for a few months, looking at various used furniture stores in town, Offerup, even Craiglist, until we came across a nice-looking, mid-century modern credenza at a local used furniture place that looked like it would fit the bill -
It seemed perfect, with the two doors on either side and a large drawer on the bottom that could remain intact, and the two drawers in the middle that I could remove to make room for the sink and plumbing. It also fit the space we had perfectly, at 48" in length, 32" high, and 21" deep. And it was nice, a quality piece of furniture built from solid ash, with superb joinery and craftsmanship. Like any savvy antique hunter, we first did a quick search online, and were surprised to find it being sold for $1700. It was marked $400, but the guy even knocked a hundred bucks off when we mentioned not needing the hutch that was included. Sold!
Time to take it home and get to work...
Also, in keeping with that M.O. I mentioned earlier about reusing, we found a nice, undermount Kohler sink at the local architectural salvage yard for $60 - so I was determined to make it work, even if it meant having to do some creative carpentry...
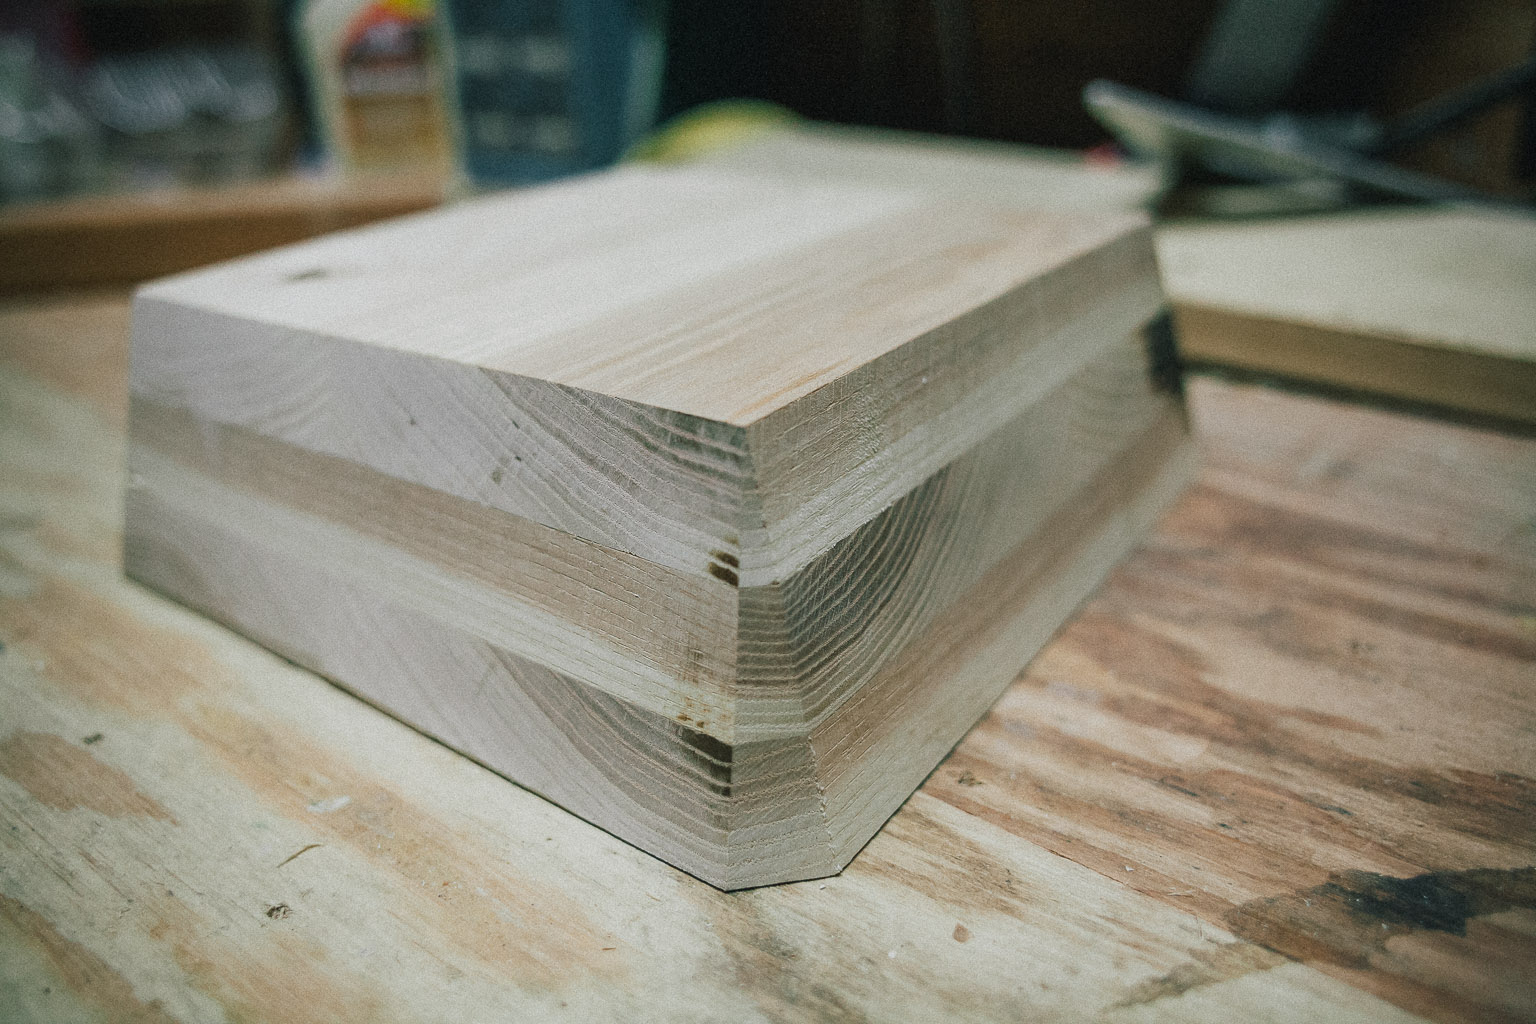
First things first - size this thing up for real -
Then start cutting. Oh boy, it was such a nice piece of furniture I felt bad taking a jigsaw, and drill, and crow bar to it. Really, really bad. But it had to be done -
Ouch! Now there was no going back... I even loved the classic, flathead screws!
With the holes for the Kohler widespread sink drilled, the back cut out for the plumbing, and the drawers removed along with some of the joinery to make way for the sink - it was time to measure and make the cutout for it.
I'd first drill, then use a jigsaw to make a rough opening -
Of course, since this was an undermount sink, the opening couldn't just be rough - it had to be perfect. Yikes. So for that, I'd use a router and the template from when I built the router table. Well, the corner of the template anyway. Since it wasn't the right size, it meant taping it down and moving it for each corner. All in all, between that and feeling the pressure of needing to make sure the opening was perfect, it took about two hours to accomplish.
Thankfully, it actually turned out as close to perfection as I could have hoped -
Sweet, plumbing openings done. Then it was time to work on refinishing... I did some research and determined that Zar stripper was the one most-often recommended, so I bought a quart of it and got to work. Indeed, it did a miracle job with the existing finish!
(A test scrap - the piece I cutout for the sink - showing the existing finish on the left and the stripped, then sanded, clean ash on the right... )
Dang - stripped down to bare wood and sanded, this piece looked awfully nice...
But I knew I wanted to stain it darker to contrast with the flooring, grey walls, and white tile so... onward! Well, first - a few more instances of creative carpentry were necessary to make the sink fit. I had to gently pry the front top piece off in order to route it to make room for the drain bulge in the sink -
Reattach, countersink some new screws to hold it in place, then test the sink fit -
Boom. Time to stain... I used a mixture of the two gel stains I got (a brown and a red) for the fan base I built a couple of years ago, in this case 3:1 brown to red. And let me just mention, I love staining. Actually, I love putting on the poly after staining. But either way, finishing a beautiful piece of wood or furniture is so rewarding. Sort of like painting a room - instant gratification.
I swear by the Minwax oil-based satin poly, which I used on the door/drawer fronts, and cabinet legs and sides. But for the top - given the fact this is a vanity countertop - I'd need to find something a little more durable, and waterproof. After more research, it sounded like Waterlox was the way to go. So I ordered a quart of that and got to work... again. Three coats of it, for now. Maybe more in time. It'll be a test to see how a wood vanity top will hold up...
The last bit of creative carpentry I had to do was figure out what to do with the drawer fronts. I first considered hinging them, but that seemed like a) it would be challenging (not that I'm up for a challenge - pretty much this entire project of finding and converting a piece of furniture into another piece of furniture has been one, fun challenge!) and b) the hinges would be visible. So, thinking more how we wouldn't access under the sink all that much (there isn't much room), I opted for a simpler option: just use cabinet door magnets.
But first I had to make the false-front doors, which I did by repurposing one of the drawer bottoms from the drawers I tore apart -
I just glued the drawer fronts to that, then drilled holes for the cabinet handle screws and installed them -
As well as attached the magnets inside the cabinet -
Oh, but wait - there's more! I then realized I also needed to route out a section on the inside of the fake drawer fronts for that bulge in the sink drain -
At long last... it was time to attach the sink, faucet, and trap in order to get it ready to intall in the bathroom (oh, there's a complete overhaul of the plumbing needed in the bathroom to re-align the drain and supply lines for this new vanity - yay!). With a combination of silicone and plumber's putty, I had the sink and faucet installed. Then I had to take a hacksaw to the drain that came with the faucet in order to fit the trap in the limited space left where the two drawers once were. But a couple hours later and it... was... finished!
Now granted, this was taken crammed in J's bedroom between his computer desk and bed, but it's really a pretty beautiful piece of furniture now. We'll each get a side door to call our own, and the large drawer can hold extra towels and such. K came up with the brilliant idea to go with a dark grey ceramic tile floor that would contrast beautifully with the warm wood. And I'll be staining the inside shelves and sides to match the vanity for the built-in cabinet I'm designing and will install to the right of the bathtub.
Vanity cabinet - 1960s mid-century modern credenza from local used furniture dealer
Sink - used Kohler sink from local architectural salvage yard
Faucet - used Kohler faucet found on Amazon
Hardware - new from Rejuvenation
Time spent: I have no idea. Weeks. Lots of things learned. Thankfully, few mistakes made (the one glaring one is I centered the holes for the faucet spout and handles - only to realize the spout doesn't sit centered (because of the drain lift rod), so it's shifted back a little from the handles... oh well). But it was totally worth it.
Oh, and K had found a really solid, heavy, HUGE mirror (she's tired of the tiny one I installed in the other bathroom and made sure for this one she gets a big mirror!) at the new Habitat For Humanity store in town, so we bought that for $30 and I refinished it to also match the vanity -
Next... the plumbing overhaul to make this thing be actually, well, usable...
Showing posts with label woodworking. Show all posts
Thursday, November 24, 2016
Monday, June 22, 2015
a cool old fan, a piece of wood, and a jig.
So years ago, at a random garage sale up the hill from work, we spied a door and an old, antique fan. We didn't buy either at the time, but K returned to get the door, which she later turned into a corner shelf, and J and I left for California. When we returned, she surprised me with the fan... : )
I loved it. Except for the base, which someone apparently, at some point, thought it was cool to hack off a 2x6, half-a•• spray paint it black, and call it good. I did not - call it good, that is.
Fast forward a few years later, and we took a bike ride to the local woodworking store, where I picked up a four-foot piece of ash for eight bucks or so -
And then it sat, because it was rough cut, and it didn't have a straight edge. And I, alas, did not have a jointer. But right around that time, I got a real table saw. And so finally, as summer rolled around and it started warming up, thinking a fan might be nice in the living room, I got to work.
PART ONE: Build a jointer jig
I knew I could use my nifty table saw as a jointer, but it would require a jig. So I drew up some plans -
Then dug around the garage for scrap pieces of wood I could use to put it together (being cheap, I admittedly didn't want to have to buy any wood for this thing). I found an old piece of 3/4" MDF that would work perfectly, a 1x12 that I could rip in half, and (luckily!) a random piece of 1/2" pine that I could use to fashion a miter gauge.
(ripping down the 1x12, then cutting it to length)
(planing the 1/2" stock and then checking the fit in the miter slot - perfection... )
To make it adjustable to a variety of rough board widths, I routed each end of the now-1x6 -
through which I would put a 1/2" machine bolt and wing nut.
But first, measuring and aligning the miter gauge to the jig's base -
Then, after having drilled the 1/2" holes for the bolts, I realized a hole saw would no longer work to make a wider hole for the bolt head (the hole was too big for the point of the bit to center itself). Scrounging the recesses of my brain, I came up with a clever plan to use a 1/2" dowel (stolen from a foam brush I had laying around) attached to the end of the hole saw, and then inserted that into the drill hole to bore out a 1" hole for the head of the bolt.
I thought it was clever, anyway...
It was finally time to attach the two toggle clamps I found on Amazon Prime for $7, fasten the 1/2" bolts, finish this jig -
and put it to use...
So the way it works of course is, based on the width of the rough board, set the 1x6 in place so that the narrowest part of the board to be cut just barely hangs over the edge of the jig (which will end up glancing off the left edge of the saw blade) and clamp it down.
Then slide the jig along the miter slot and through the blade, and presto!... a board now with a perfectly straight edge -
From there, you can do whatever you want (you just need one straight edge on a piece of wood in order to make another, and another, etc.).
That, then, was Part One...
PART TWO: Build a new base for the fan
So, with a nice straight piece of solid ash (I cut the other side as well to true it up straight), and after running it quickly through the planer on each side, I could get to doing what I actually wanted to do: replace the butt-ugly 2x6.
With a bit of math, I figured out the size I needed (and that would support the off-balance fan, which is awfully heavy since it's all steel, without tipping over) and made some more cuts, then glued it up -
I wasn't worried about the sloppy edges (I just needed to make sure one edge was square and true), because my design had a few more details I needed to take care of. So I set up the table saw at a 15º angle to cut each side -
(a little edge burning from the blade, bother all... )
to get the semi-final, trapezoidal shape -
Last but not least, I wanted to cut off each corner - so I set up the chop saw to a compound 45/15º angle, clamped a stop in place so that each cut was identical, and chopped off the corners -
Boom.
PART THREE: Finish the base and rewire the electrical
It was fun building the jig (jigs are awesome), and it was fun building the base. But maybe what I love most about woodworking is the finishing part. Being able to bring out the beauty of the wood, by hand, with carefully-crafted finishes. Truth is, however, I've never really delved too deeply into wood finishing. So I thought, this time, I would.
I read a bunch about it, and learned that dye stains are the way to go. So another trip to the woodworking store, and I bought a couple to try - a red and a brown -
And tried mixing different ratios of them -
It's not super-easy to tell in that photo, but on the far left is the cherry by itself, then 1:1 with the medium brown, then 2:1. I ended up liking the richness of the 2:1 and so went with it (just using a teaspoon to measure, since I didn't need much stain to finish this little base). Wiping it on was fun -
Then it was time to redo the electrical, as it was a little sketchy...
The funny thing... the original cloth-covered wire inside the fan had the same pattern as the stuff I ordered (albeit it was black vs. brown stripes). I tied a quick overhand knot in it to tension it and keep it from pulling out -
Then, time for the final assembly -
And then... the fan, complete...
And now, I have a jointer jig for the next time I buy a rough piece of lumber that I want to use to build something...
Subscribe to:
Posts (Atom)