So years ago, at a random garage sale up the hill from work, we spied a door and
an old, antique fan. We didn't buy either at the time, but K returned to get the door, which she later turned into a corner shelf, and J and I left for California. When we returned, she surprised me with the fan... : )
I loved it. Except for the base, which someone apparently, at some point, thought it was cool to hack off a 2x6, half-a•• spray paint it black, and call it good. I did not - call it good, that is.
Fast forward a few years later, and we took a bike ride to the local woodworking store, where I picked up a four-foot piece of ash for eight bucks or so -
And then it sat, because it was rough cut, and it didn't have a straight edge. And I, alas, did not have a jointer. But right around that time, I got
a real table saw. And so finally, as summer rolled around and it started warming up, thinking a fan might be nice in the living room, I got to work.
PART ONE: Build a jointer jig
I knew I could use my nifty table saw as a jointer, but it would require a jig. So I drew up some plans -
Then dug around the garage for scrap pieces of wood I could use to put it together (being cheap, I admittedly didn't want to have to buy any wood for this thing). I found an old piece of 3/4" MDF that would work perfectly, a 1x12 that I could rip in half, and (luckily!) a random piece of 1/2" pine that I could use to fashion a miter gauge.
(ripping down the 1x12, then cutting it to length)
(planing the 1/2" stock and then checking the fit in the miter slot - perfection... )
To make it adjustable to a variety of rough board widths, I routed each end of the now-1x6 -
through which I would put a 1/2" machine bolt and wing nut.
But first, measuring and aligning the miter gauge to the jig's base -
Then, after having drilled the 1/2" holes for the bolts, I realized a hole saw would no longer work to make a wider hole for the bolt head (the hole was too big for the point of the bit to center itself). Scrounging the recesses of my brain, I came up with a clever plan to use a 1/2" dowel (stolen from a foam brush I had laying around) attached to the end of the hole saw, and then inserted that into the drill hole to bore out a 1" hole for the head of the bolt.
I thought it was clever, anyway...
It was finally time to attach the two
toggle clamps I found on Amazon Prime for $7, fasten the 1/2" bolts, finish this jig -
and put it to use...
So the way it works of course is, based on the width of the rough board, set the 1x6 in place so that the narrowest part of the board to be cut just barely hangs over the edge of the jig (which will end up glancing off the left edge of the saw blade) and clamp it down.
Then slide the jig along the miter slot and through the blade, and presto!... a board now with a perfectly straight edge -
From there, you can do whatever you want (you just need one straight edge on a piece of wood in order to make another, and another, etc.).
That, then, was Part One...
PART TWO: Build a new base for the fan
So, with a nice straight piece of solid ash (I cut the other side as well to true it up straight), and after running it quickly through the planer on each side, I could get to doing what I actually wanted to do: replace the butt-ugly 2x6.
With a bit of math, I figured out the size I needed (and that would support the off-balance fan, which is awfully heavy since it's all steel, without tipping over) and made some more cuts, then glued it up -
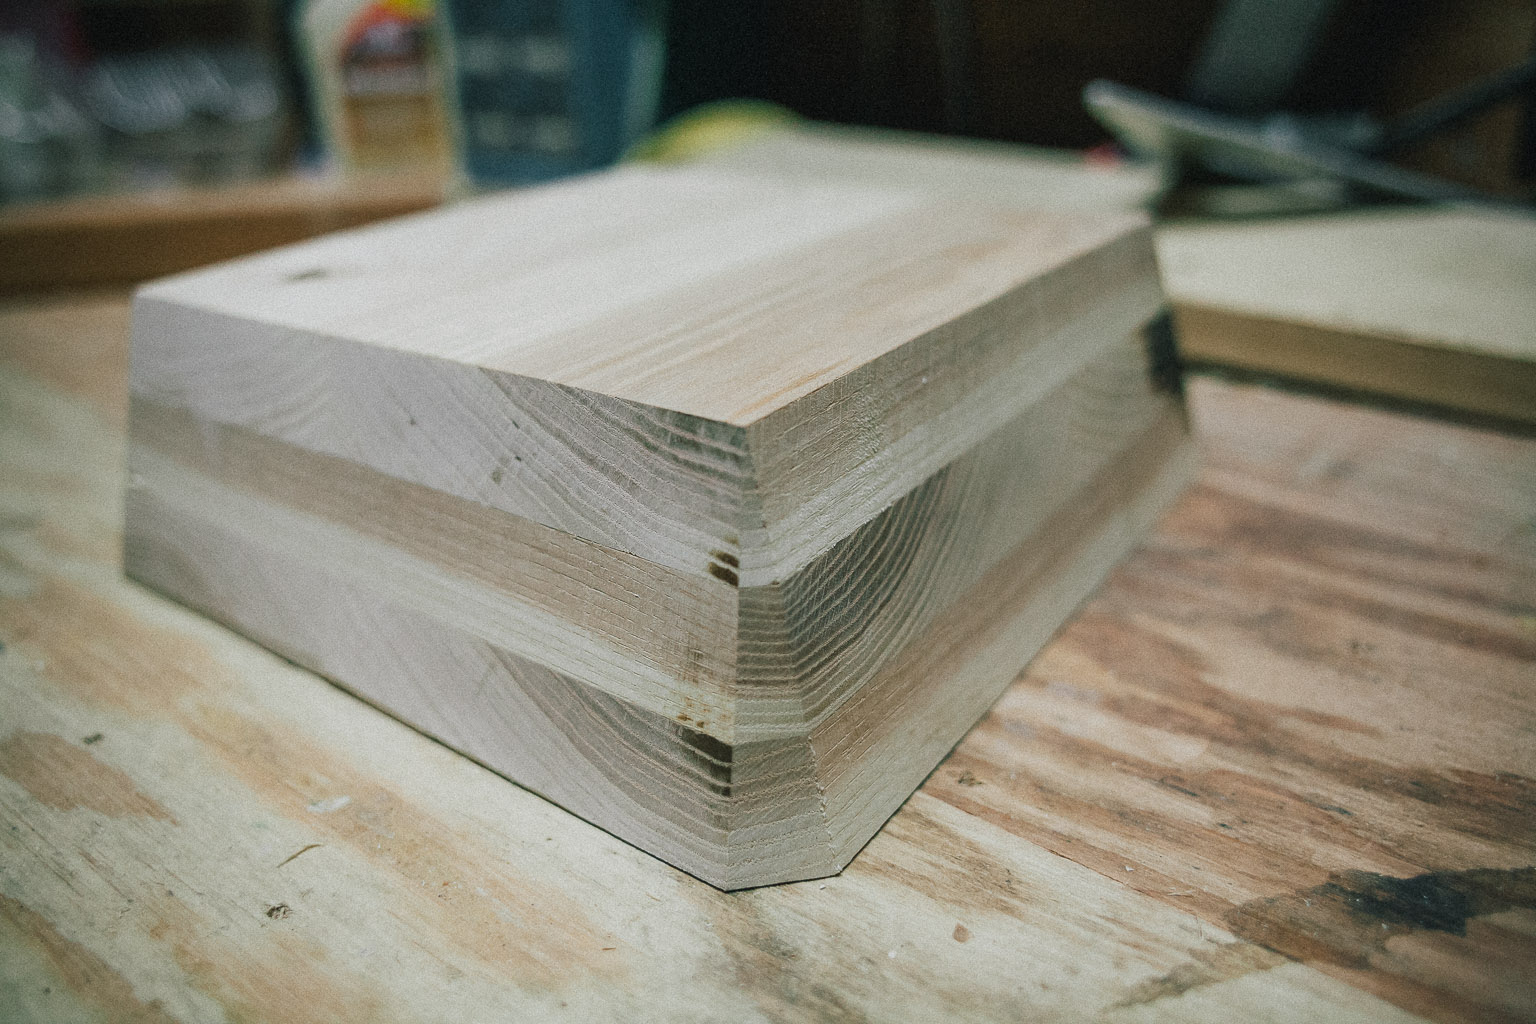
I wasn't worried about the sloppy edges (I just needed to make sure one edge was square and true), because my design had a few more details I needed to take care of. So I set up the table saw at a 15º angle to cut each side -
(a little edge burning from the blade, bother all... )
to get the semi-final, trapezoidal shape -
Last but not least, I wanted to cut off each corner - so I set up the chop saw to a compound 45/15º angle, clamped a stop in place so that each cut was identical, and chopped off the corners -
Boom.
PART THREE: Finish the base and rewire the electrical
It was fun building the jig (jigs are awesome), and it was fun building the base. But maybe what I love most about woodworking is the finishing part. Being able to bring out the beauty of the wood, by hand, with carefully-crafted finishes. Truth is, however, I've never really delved too deeply into wood finishing. So I thought, this time, I would.
I read a bunch about it, and learned that dye stains are the way to go. So another trip to the woodworking store, and I bought a couple to try - a red and a brown -
And tried mixing different ratios of them -
It's not super-easy to tell in that photo, but on the far left is the cherry by itself, then 1:1 with the medium brown, then 2:1. I ended up liking the richness of the 2:1 and so went with it (just using a teaspoon to measure, since I didn't need much stain to finish this little base). Wiping it on was fun -
Then it was time to redo the electrical, as it was a little sketchy...
The funny thing... the original cloth-covered wire inside the fan had the same pattern as the stuff I ordered (albeit it was black vs. brown stripes). I tied a quick overhand knot in it to tension it and keep it from pulling out -
Then, time for the final assembly -
And then... the fan, complete...
And now, I have a jointer jig for the next time I buy a rough piece of lumber that I want to use to build something...