But fast-forward to now... The stereo in Spencer (my 2006 Toyota Corolla that I've had for seven years now) was pretty good (it had component speakers in the front and a 6-disc changer), so I lived with it. Meaning, every year for our road trip to California, I'd spend a couple hours burning a dozen CDs because it only played CDs (not even MP3 CDs) - no auxiliary input to plug in an old iPod or anything. Still, it was pretty good. Then, a few years ago, one of the rear speakers blew. But still, it was pretty good. And I'm cheap.
Until recently when - just for fun - I looked into what it would cost to get some new speakers and a new receiver to which I could hook up my old iPhone 2G. I was surprised, cos - for two sets of speakers and a double-DIN receiver - it was pretty cheap (about $250). I ordered the stuff from the same place I used to buy from back in those college days (Crutchfield), mostly because they include (uhh, for free) wiring adapters, dash and speaker kits, and complete installation instructions.
So I plunked down some cash, waited for them to arrive, then got to work...


It was really easy, actually. Too easy (i.e. not much fun because the ABS speaker adapters and everything made it so I didn't really have to problem-solve, which is kind of the most fun part about installing car stereo stuff). But first were the door speakers -

(Those are the factory speakers)
After removing the door panel, I cut out the bracket for the new 6-1/2" mid-woofer, then installed the little crossover box and tweeter with velcro - and boom! Done.

Then the rear speakers, in short order (just had to be mounted to a bracket). The factory speakers -

Removed, and next to the JBL replacements (already mounted to the bracket) -
And the JBLs installed -

And... done.

But since that wasn't much fun, and Stuart had his own stereo problems (umm, just a CD player which didn't really eject any CDs, requiring me to sort of hold down the eject button, take off the faceplate, then use a needle nose pliers to yank it out - as well as tiny little front speakers and two non-operational speakers in the rear). Oh, and I had gotten a pretty nice JBL component speaker set at a garage sale years ago that has just been sitting in the garage ever since.
So - this time for $100 - I was able to get the single-DIN version of the same receiver I installed in Spencer (so operating them would be a piece of cake cos they're identical) and some 6-1/2" speakers for the rear. And this installation would require a bit more, well, creativity. Yea!
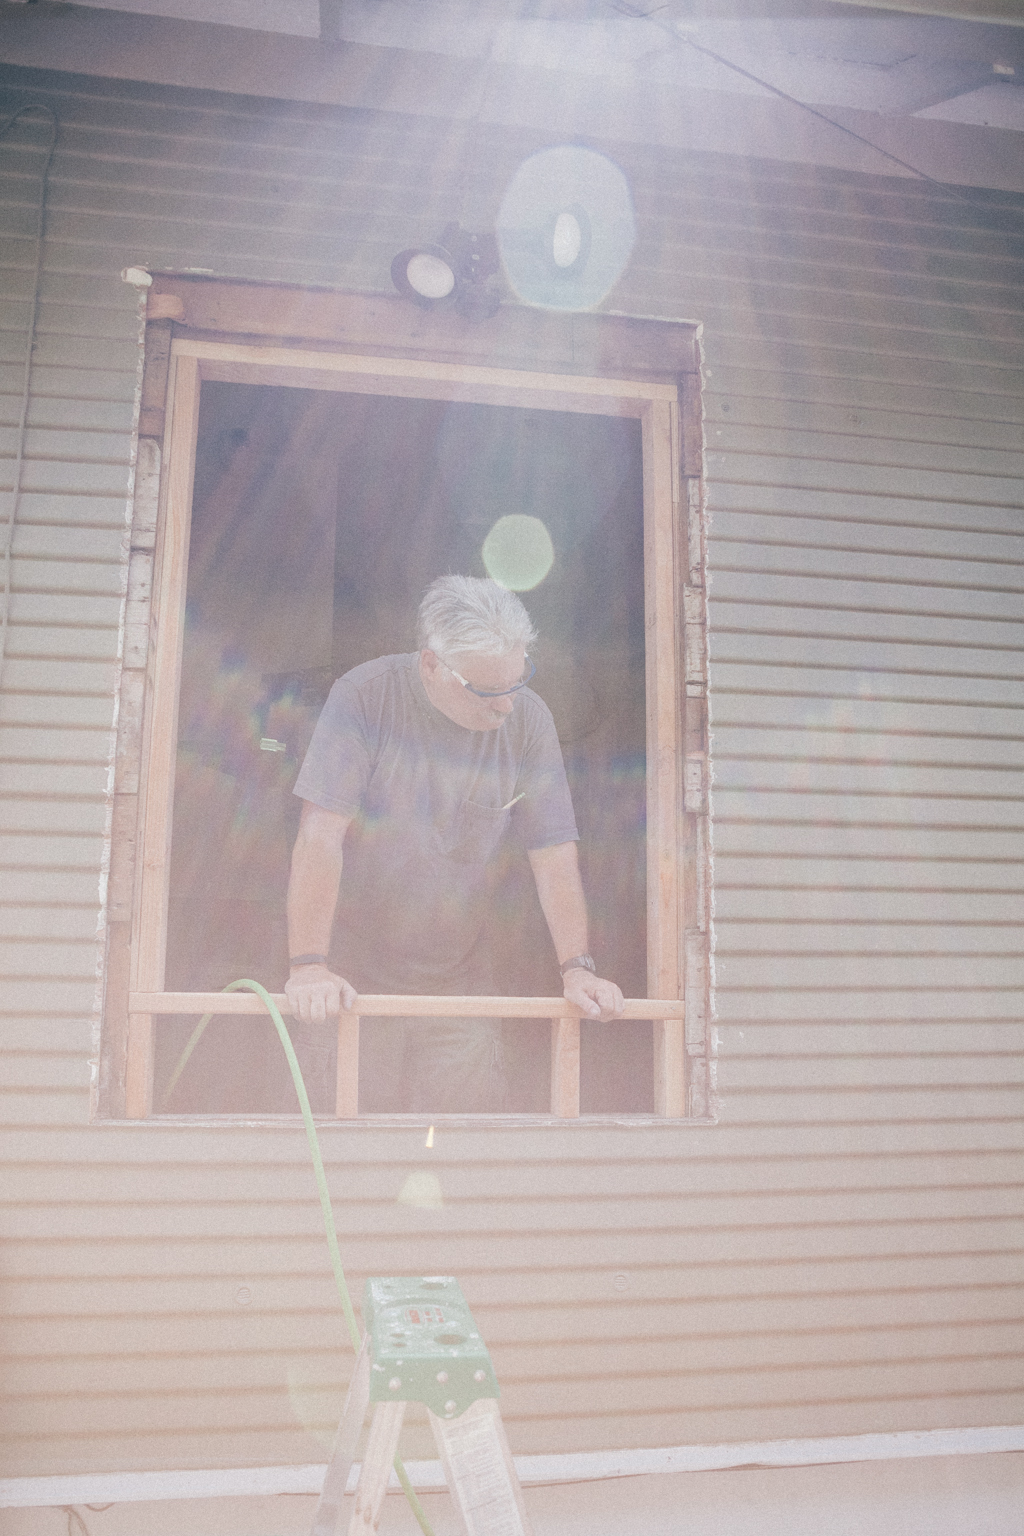
The receiver was easy (I think they're always easy) - just remove any necessary paneling (which Crutchfield details in their pretty handy installation instructions), do some wire splicing from the receiver harness to the factory harness, and pop it in.
The paneling removed -

Four supplied screws mounted it quickly to the factory bracket -

And the wiring harness -

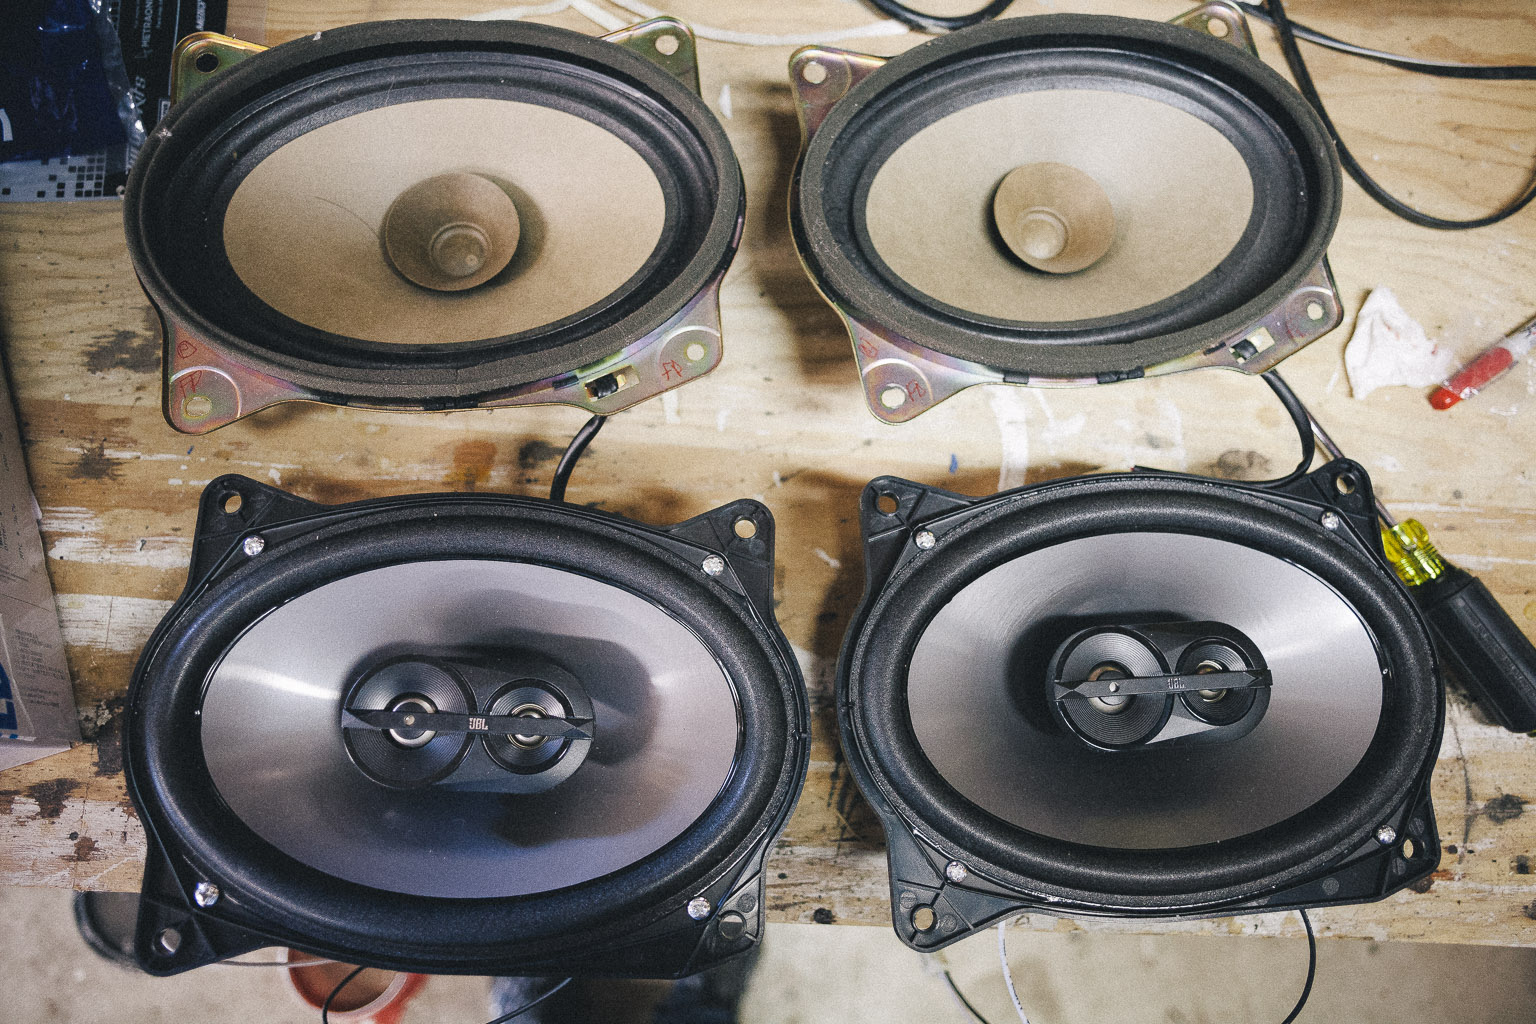
Then it was time for those nice component speakers (I'm a huge fan of component speaker systems). This was interesting, because apparently back in 1991 Toyota thought it was cool to use ABS speaker housings for all four speakers (the little speaker box removed from the front driver's side, complete with a port for all the air the little 4" speaker moves... heh)-

And the new vs. old -

(Apparently the speaker surround on the factory speaker had basically disintegrated... )
Okay - but those speaker boxes are actually pretty ingenious. Until it's time to upgrade the speakers, then they're kind of a pain. Especially since - despite getting this JBL set for probably something like $10 - I was stuck with them, so I had to make them work (and - quite frankly - pretty motivated to make them work).
But I quickly discovered the magnet on the new speakers didn't quite fit in the housing. Hmm... creativity... First I thought I could just cut into them with a utility knife or something, but that would kind of render them useless and inefficient since there was no real backing under the dash (so soundwaves emanating from behind the speaker cone - all speakers send sound forwards and backwards, which is why they need to be in a box - would wrap around and cancel out the ones from the front... no bueno). Hmm... wait! I broke out the heat gun I got years ago when I was reglazing some of the original windows on the house (it's used to melt old, brittle window glazing) and quickly heated up the ABS to the point it was malleable - then beat it with a hammer -

In no time - the new speaker fit perfectly -

Success!
Then it was time to mount the tweeters... This would be pretty easy, but fun because there weren't previously any tweeters. I opted for surface mounting them along the windshield pillars (vs. flush mounting in the door panels, since the mid-woofers were under the dash - I wanted them and the tweeters to be on the same 'sound plane'). Just had to drill -

Then run the wires -

Put everything back together, and done (the mid-woofers are hidden behind the slotted cutouts under the dash) -

Finally then... the rear speakers. After I removed the rear panels, this is what I found -

Uhh... (that's a 4-1/2" speaker - and I bought 6-1/2" speakers). Yeah, this was going to get creative! Obviously, for starters I had to take it out and inspect -

Hmm, ok. Well - first thought was I could build something. And for these speakers - they were completely enclosed in the rear quarter panel, so I could chuck the factory housings with what I would build. I scrounged around the garage for some scrap 3/4" MDF, then went to work on the table saw -

(The front and sides - cut to the same dimensions as the original housing - from a piece of scrap)
Then I took off the mounting brackets, measured the spacing, and recreated it on my new speaker brackets -

To make the cutout for the speakers, I used a circle jig for my plunge router -

It's awesome - and makes circles from about 2" all the way up to 18" (broken out in sixteenths of an inch). Easy -

I routed the outer circle first to 1/4" depth, then routed out the 5" circle last -

Fastened the new speaker to my little bracket -

And boom!


The factory speaker housings had their own circuitry - and I surmised more than just a crossover network (which is usually just a capacitor or two), possibly an auxiliary amplifier. But - without knowing what it was - I definitely wanted to bypass it. So I ran some new speaker wire along both doors up front to the receiver -

(NOTE TO SELF: white on right, grey on left)


(I crimped the new wires directly into the receiver harness, bypassing the factory harness)
Then mounted my self-made speaker brackets -

And reattached the rear panel -

Boom. Done.

Now no more having to burn dozens of CDs...